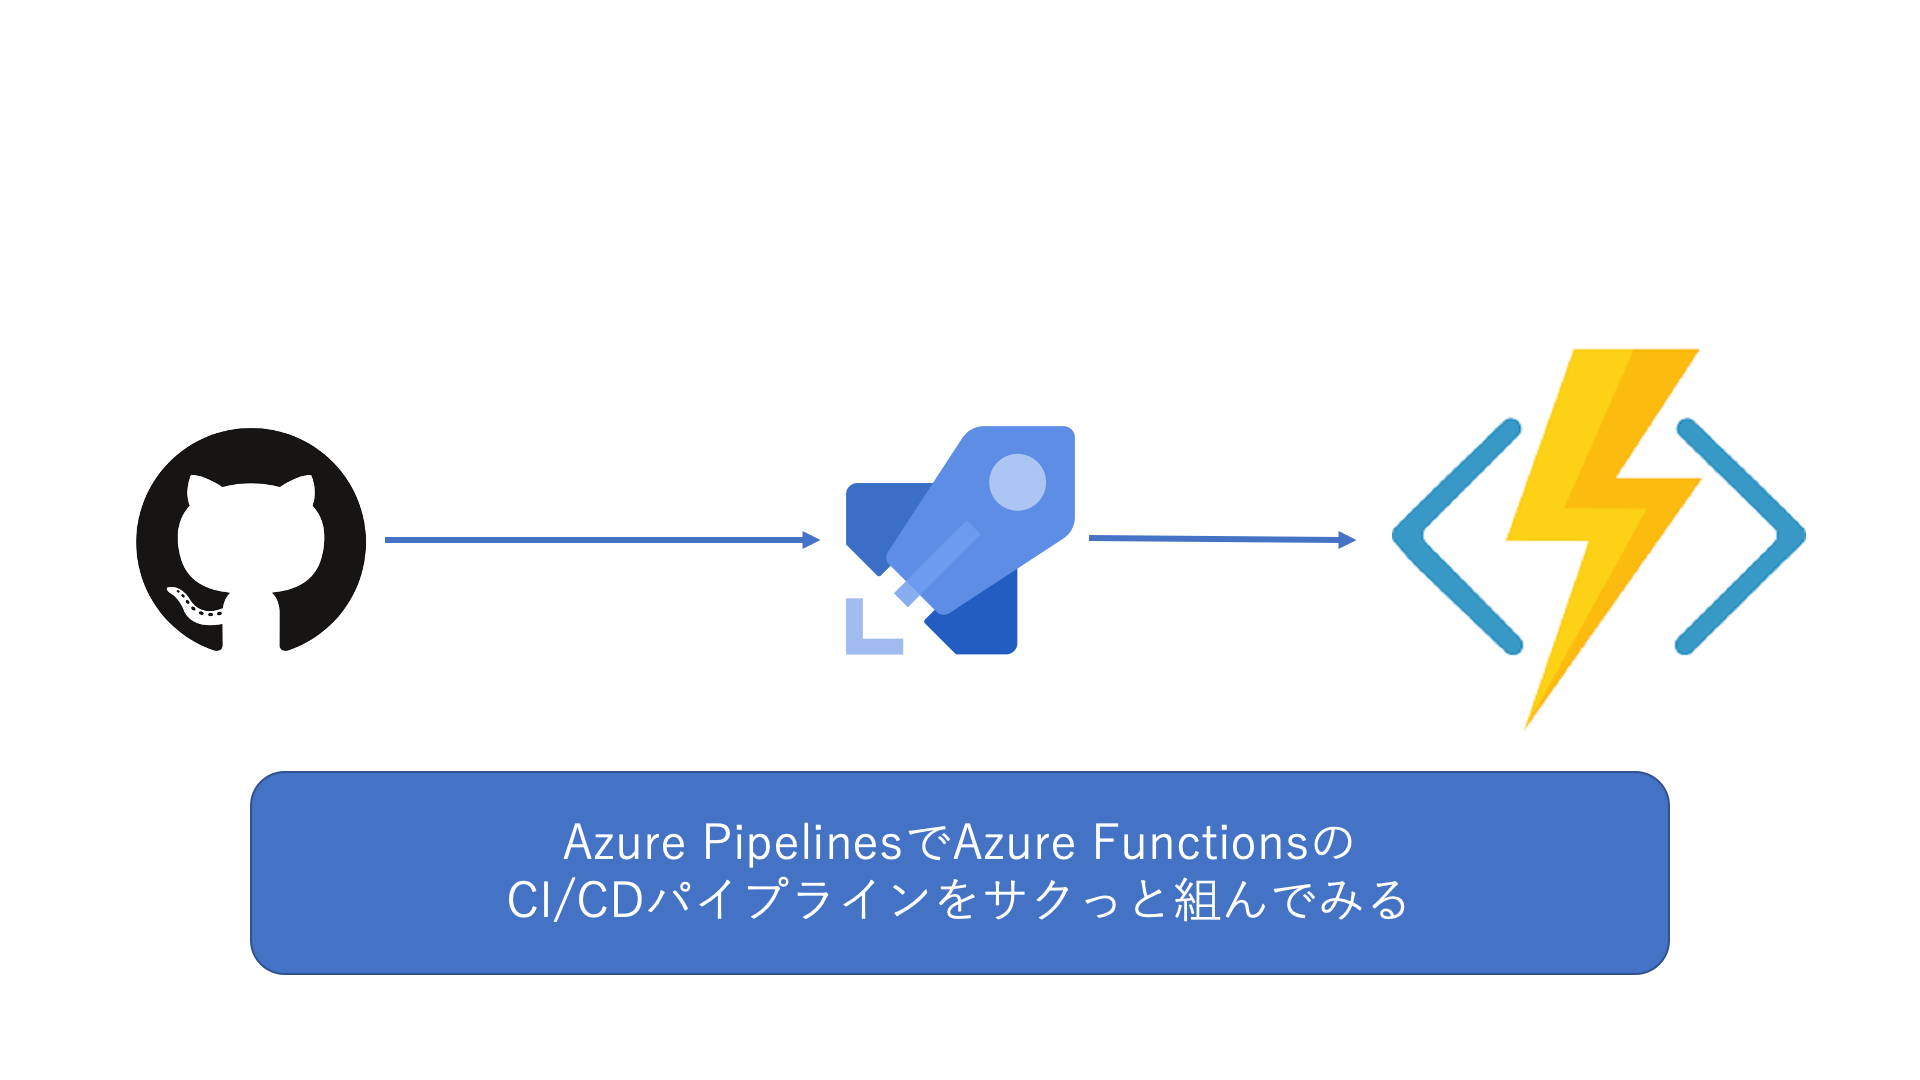
こんにちは、最近久々にFunctionsを触ってる石川です。
今回はAzure Functionsをいい感じに開発したくなったので記事を書いています。(CIといいつつテストしてない部分はゆるしてください)
まずは今回組み立てる(恐ろしく雑な)概要図をペタリ
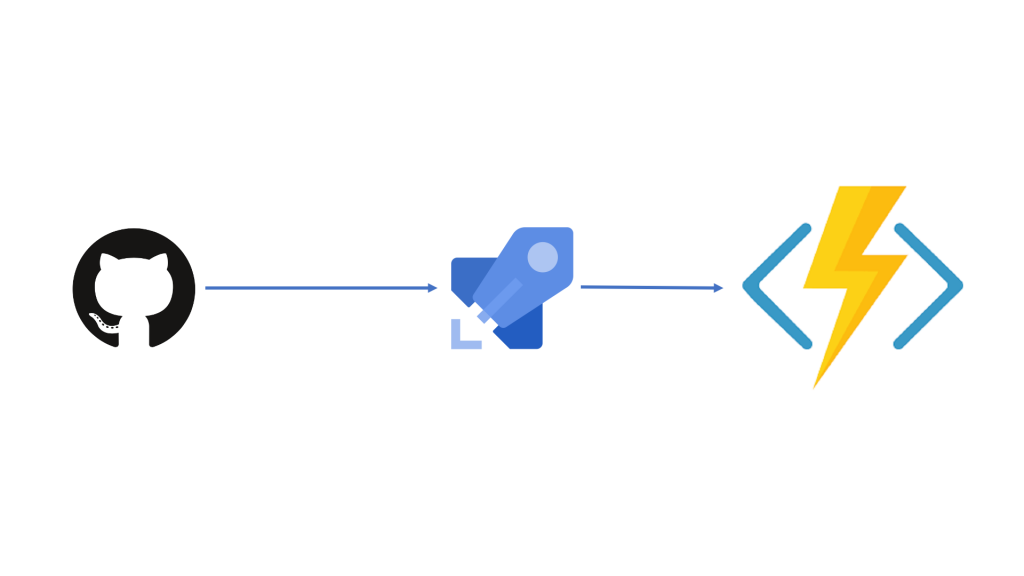
GitHubにホストしているリポジトリの変更をAzure DevOpsのPipelinesで監視、developブランチに変更があったら自動でAzure Functionsへデプロイを行うといったものです。単純。
まずはビルドパイプラインの方を設定していきます。
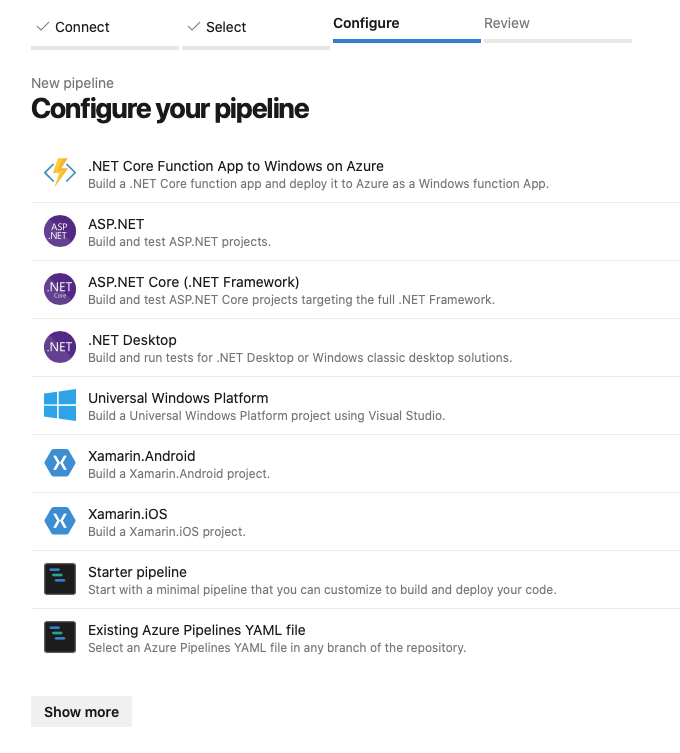
New pipelinesからリポジトリを選択して、Starter pipelineを選択。
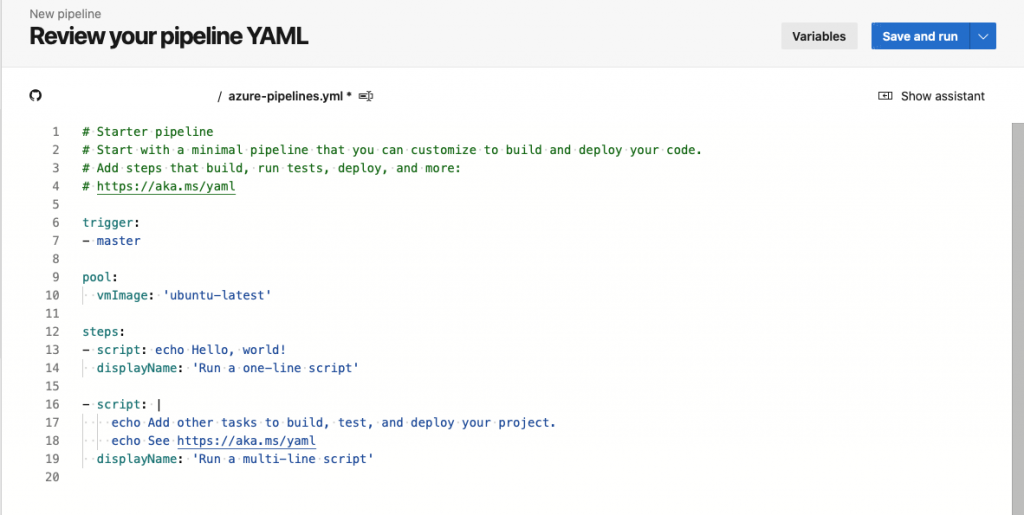
こんな感じでテンプレートのymlが表示されるのでガリガリ書いていきます。
今回書くymlで行いたいことは以下のような感じ。
- dotnet restore
- dotnet publish
- ビルド成果物をzipで固める
- artifactsに置く
では早速と行きたいところですがパイプラインが動き出す契機の設定をします。
trigger:
- develop

pr: none
triggerで監視するブランチを指定します。pr: none はPR作成時に動き出さないようにする魔法の言葉です。
では早速、dotnetコマンドから捌いていきましょう。
yml編集画面にはアシスタントがありますのでそちらを活用します。
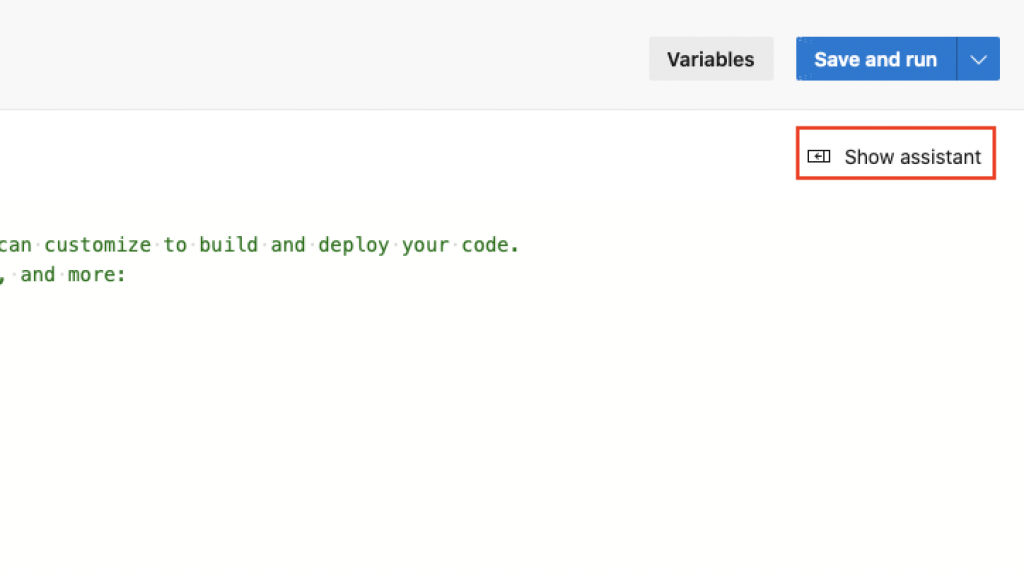
赤枠の部分をクリックすると現れますので使い倒していきます。
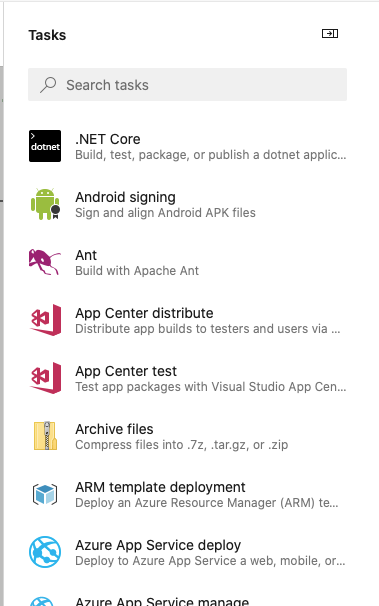
先頭にある .NET Core を選択します。
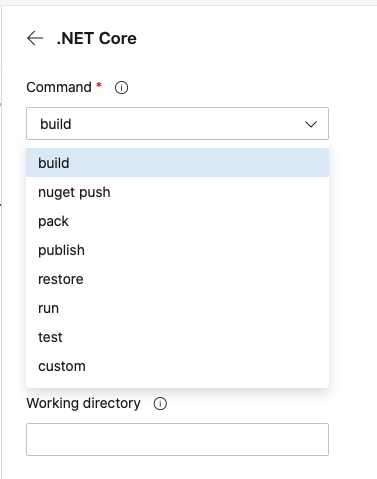
dotnetコマンドがいい感じに使えるのでこれで dotnet publish まで一気に出力させちゃいます。
できたものがこちら
steps:
- task: DotNetCoreCLI@2
  inputs:
    command: 'restore'
    projects: '**/*.csproj'
    feedsToUse: 'select'

- task: DotNetCoreCLI@2
  inputs:
    command: 'publish'
    publishWebProjects: false
    arguments: '--no-restore -o ./publish'
    zipAfterPublish: false
restore した後にビルドして ./publish に成果物を出力するという処理です。
あとはこれを zip にして artifacts に置くと完成です。
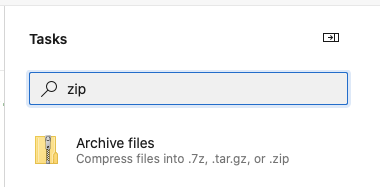
こちらもアシスタントがあるので使っていきます。
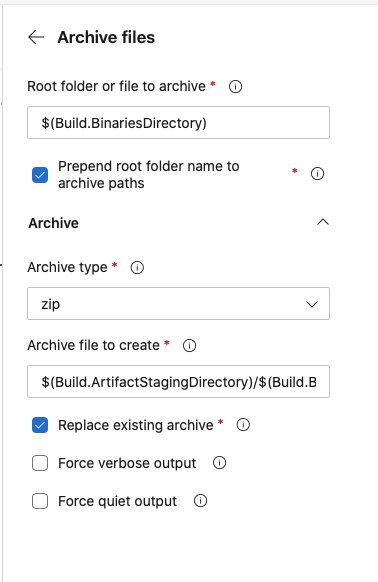
選択するとこんな感じ。
今回は成果物を ./publish に置いてますので Root folder or file to archive に $(System.DefaultWorkingDirectory)/publish を指定します。
そして生成されるymlがこちら
- task: ArchiveFiles@2
  inputs:
    rootFolderOrFile: '$(System.DefaultWorkingDirectory)/publish'
    includeRootFolder: false
    archiveType: 'zip'
    archiveFile: '$(Build.ArtifactStagingDirectory)/$(Build.BuildId).zip'
    replaceExistingArchive: true
Prepend root folder name to archive paths は チェックを外しておきます。
同じ要領でリリースパイプラインで利用するためにartifactsに置く部分も設定します。
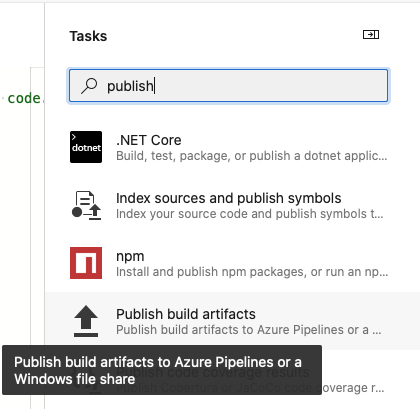
publishで検索すると見つかるのでそれを選択。
各設定値はデフォルトのままでOKです。
生成されるymlはこちら
- task: PublishBuildArtifacts@1
  inputs:
    PathtoPublish: '$(Build.ArtifactStagingDirectory)'
    ArtifactName: 'drop'
    publishLocation: 'Container'
あとはSave and Runを押して実行しましょう!
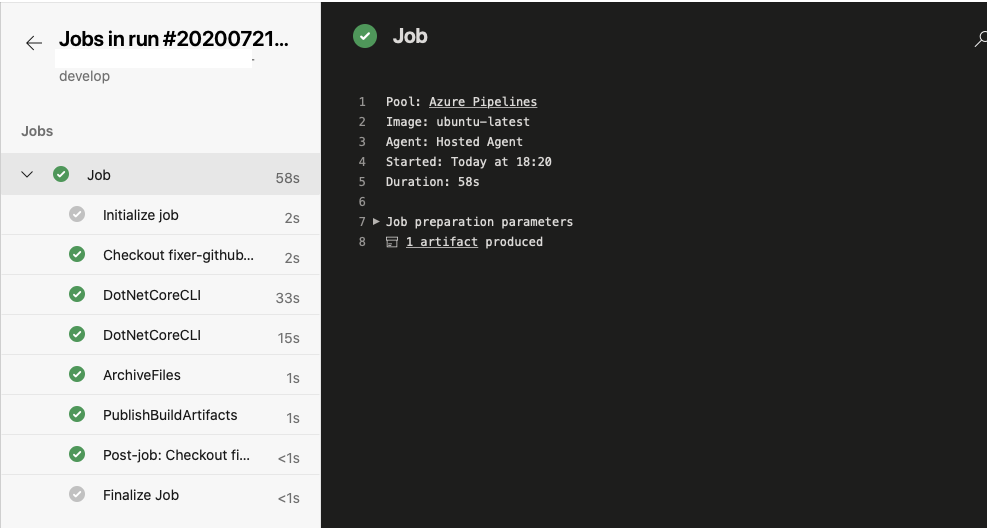
最後まで走ればOK!!!
ということでビルドパイプラインが完成しました。次回はリリースパイプラインを作っていきます。
連休明け予定………!
それでは。


![Microsoft Power BI [実践] 入門 ―― BI初心者でもすぐできる! リアルタイム分析・可視化の手引きとリファレンス](/assets/img/banner-power-bi.c9bd875.png)
![Microsoft Power Apps ローコード開発[実践]入門――ノンプログラマーにやさしいアプリ開発の手引きとリファレンス](/assets/img/banner-powerplatform-2.213ebee.png)
![Microsoft PowerPlatformローコード開発[活用]入門 ――現場で使える業務アプリのレシピ集](/assets/img/banner-powerplatform-1.a01c0c2.png)